Turtle Skin Fungus: Treatment, Prevention, Tips
Caring for pet turtles often involves tackling fungal diseases, which can be quite a challenge. However, with consistent hygiene practices, dealing with these issues becomes much easier. It’s a task that requires dedication and perseverance.
Fungi on a turtle’s skin can stem from various factors such as unclean living conditions and infrequent water changes. Fortunately, addressing this issue typically involves simple remedies like salt baths and gentle cleaning with soap or an iodine solution. To prevent fungal growth, it’s essential to maintain proper tank filtration and ensure your turtle receives adequate lighting and nutrition.
Failure to maintain a clean environment can lead to fungal growth on aquatic turtles, with telltale signs appearing as fuzzy gray or white areas on their shells. Detecting and treating these infections early can prevent further outbreaks and ensure your turtle’s well-being.
If your turtle does fall victim to fungus, fear not. I’ve outlined a range of strategies here for diagnosing, treating, and preventing fungal infections. As you delve deeper, you’ll discover some invaluable tips to keep your turtle healthy and thriving.
How Do Turtles Get Fungus?
The lack of proper hygiene in a turtle’s tank is a primary culprit behind fungal diseases. Turtles, being creatures of habit, often dine and relieve themselves in the same water, creating a messy environment that’s challenging to maintain cleanliness.
This combination of leftover food, waste, and water creates a substrate that’s not only sticky but also emits an unpleasant odor, providing the perfect breeding ground for fungus. Add to that the consistent high humidity and warm temperatures within the tank, and you have ideal conditions for fungal infections to thrive.
Moreover, turtles native to humid regions are particularly vulnerable to shell and skin issues if their habitat becomes too dry. Conversely, those from arid climates may suffer adverse effects if housed in excessively moist environments, leading to potential softening and distortion of their protective keratin layer, making them more susceptible to diseases.
To safeguard the health of all turtles, it’s crucial to maintain a suitable substrate and uphold cleanliness within their habitat at all times. This diligence ensures a conducive environment for their well-being and minimizes the risk of fungal infections wreaking havoc on their health.
How To Detect Turtle Fungal Infection?
Identifying turtle fungus isn’t always straightforward, but there are telltale signs to watch for. Look out for small green spots that may appear on the turtle’s neck, legs, or shell. These spots can quickly mature and spread, resembling raised patches of fungus.
It’s important to note that these green spots should not be confused with white patches associated with skin or shell loss. To confirm whether your turtle is indeed shedding its skin, a thorough examination is necessary. You can even use a magnifying lens for a closer inspection. Shedding patches are areas where the outer layer of skin or shell has detached from the underlying layer.
Shell rot is another condition that may be mistaken for turtle fungus. Typically caused by an infected lesion or injury, shell rot begins at the site of the injury and can penetrate multiple layers of the shell.
One key indicator of shell rot is the presence of an unpleasant odor emanating from the affected area. Additionally, the outer layer of the shell may appear blotchy and swollen with fluid.
Given the severity of shell rot, prompt treatment is imperative. Delaying treatment can exacerbate the condition and lead to further complications. If you suspect your turtle is suffering from shell rot or fungal infection, seek veterinary care promptly to ensure the best possible outcome for your pet’s health.
What Does Turtle Fungus Look Like?
Before embarking on treatment for fungus on your turtle, it’s crucial to confirm that it is indeed a fungal infection and not simply a natural shedding process.
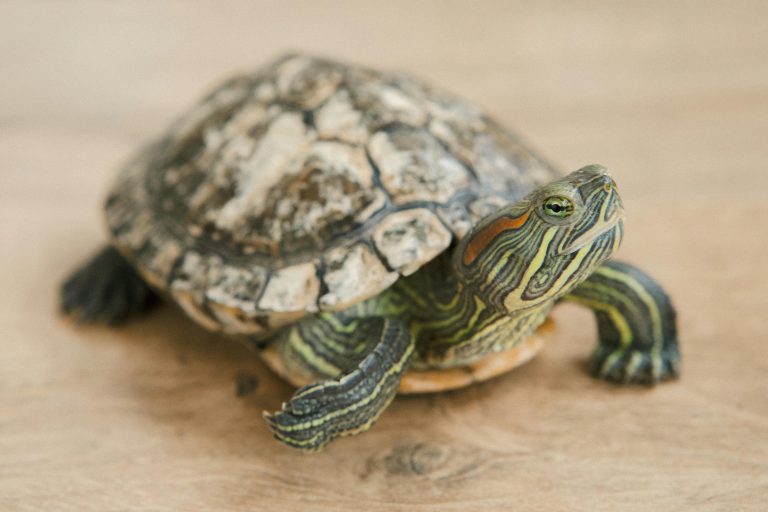
Look out for small, raised green spots or soft, fuzzy white or yellow patches on the turtle’s skin or shell. These are indicative of potential fungal growth.
However, if you notice whitish discoloration on the shell, don’t fret—it’s likely just the result of the turtle’s natural shedding process, not fungus. Unlike fungal growth, which regrows after being brushed off, the shed remains.
By carefully observing these signs and distinguishing between normal shedding and fungal infection, you can ensure appropriate treatment for your turtle’s health and well-being.
How To Treat The Fungal Infections In Turtles?
Treating fungal infections in turtles requires a meticulous approach, but with the right methods, it’s entirely manageable. Let’s delve into two effective treatment strategies and essential tips for maintaining a clean habitat.
A. Salt Bathing Your Turtle:
Fungi thrive in warm, moist environments, making salt baths an effective remedy. Here’s how to proceed:
- Ensure the water temperature is between 75 and 85 degrees Fahrenheit, suitable for your terrapin.
- Add one-fourth cup of bath salt to five gallons of water in a separate bin.
- Allow your turtle to soak in the salt solution for 30 to 40 minutes daily for two weeks.
B. Using Soap, Water, And Iodine:
Follow these steps for a thorough cleaning:
- Use a soft toothbrush and hypoallergenic soap to gently clean the turtle, avoiding excessive soap usage.
- Rinse the turtle with clean water and allow it to air dry or use a clean towel.
- Bathe the turtle in a diluted iodine solution or Betadine.
- Repeat this treatment daily for two weeks.
Cleaning the Turtle Enclosure:
A dirty tank contributes to fungal infections, so regular cleaning is essential. Here’s how to do it:
- Remove the turtle from the tank and place it in a separate container with water and a drying platform.
- Remove all tank items, including electronics and decorations.
- Empty and clean the tank using a bleach solution (30 parts water to 1 part bleach).
- Rinse the tank thoroughly and allow it to air dry.
- Clean the substrate by changing the water four times.
- Scrub the tank edges and crevices, then rinse thoroughly.
- Let the tank sit with the bleach solution for 20 minutes, then rinse again.
- Clean the filter, decorations, and heater.
- Refill the tank, return it to its original location, and reinstall all components.
By following these steps diligently, you can effectively treat fungal infections in your turtle and maintain a clean, healthy habitat for its well-being.
How To Prevent Turtle Fungus?
Maintaining a clean tank is crucial for preventing turtles from developing fungal infections, and it’s simpler than you might think. Here are some straightforward guidelines to follow:
- Provide Adequate Tank Space:
Ensure your turtle has enough space to move around comfortably. Larger tanks mean cleaner water for longer periods. For hatchlings and small turtles (carapace length less than 5 inches), a 20-gallon tank is suitable. Larger turtles need even more space—consider a 50-gallon tank for turtles with a 5-inch carapace length, and a 75-gallon tank for those with a 10-inch carapace length. - Use a Quality Filter:
Invest in a reliable filter that can adequately purify the water. Opt for a filter rated for a tank twice the size of your turtle’s tank. Some excellent options include the Polar Aurora External Aquarium Filter, MarineLand Penguin, or SunSun HW-3000. - Remove Leftover Food Promptly:
Turtles often leave food remnants in the water after feeding. Use a fish net to remove these leftovers immediately to prevent water contamination. - Regular Tank Scrubbing:
Keep the tank clean by regularly scrubbing it with an aquarium vacuum system like the Python Aquarium Maintenance System. - Water Changes:
Perform partial water changes using the Python Aquarium Maintenance System weekly, replacing one-third of the water. Complete water changes should be done every few weeks to maintain water quality. - Monitor Chemical Levels:
Use a water conditioner like TetraFauna AquaSafe Water Conditioner to maintain the ideal chemical balance in the water. After water changes, test the aquarium for nitrates, nitrites, ammonia, and pH levels. Aim for a pH range of 6 to 8, zero ammonia, no chlorine, nitrate levels between 0 to 40 ppm, and nitrite levels between 0 and 0.5 ppm.
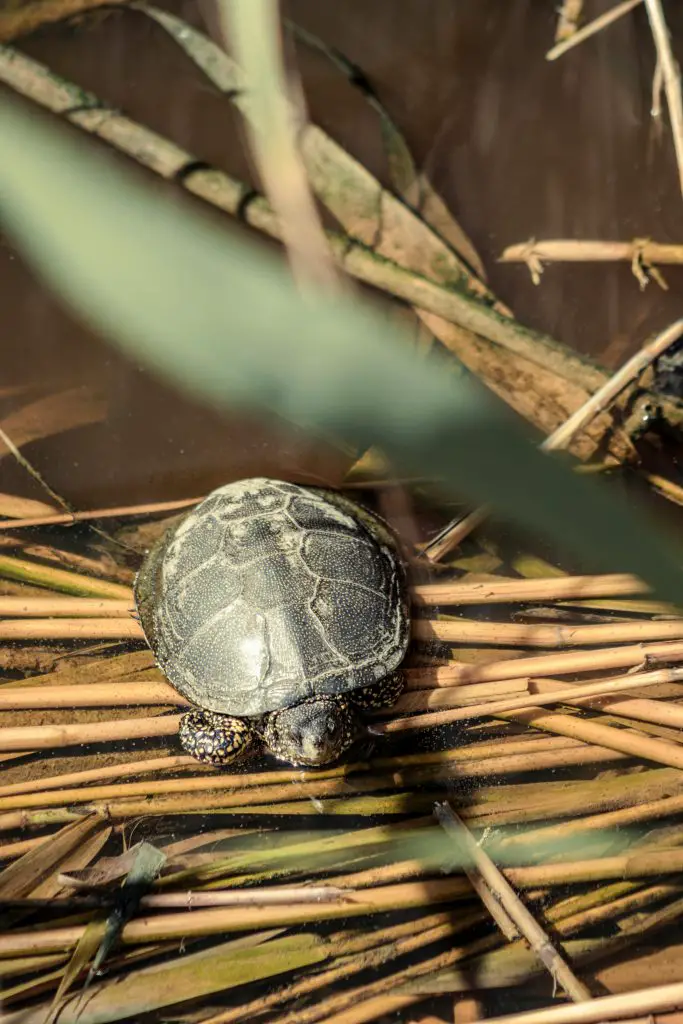
By following these simple steps, you can ensure a clean and healthy environment for your turtle, minimizing the risk of fungal infections and other health issues.
Before You Go…
Fungal infections in turtles are unfortunately quite common, given their preference for warm and damp environments in their cages. However, with the right precautions, you can greatly reduce the frequency of these infections.
The good news is that if your turtle does develop a fungal infection, it’s usually easy to cure. You can simply clean the affected areas with a gentle brush and water, or give your turtle a salt bath to help eliminate the fungus.
Another effective treatment is to apply an iodine solution to the affected areas. Additionally, to prevent fungal infections from recurring, it’s essential to maintain a clean cage environment.
Regularly changing the tank’s water, using a high-quality filter to keep the water clean, and thoroughly cleaning the tank with a bleach solution once a month can all help prevent fungus from taking hold again.
By taking these simple precautions and promptly treating any fungal infections that do occur, you can help keep your turtle healthy and happy for years to come.
![200+ List Of Native Turtles Throughout USA [By State]](https://spreadhapiness.com/wp-content/uploads/2024/04/12-1-768x512.jpg)

